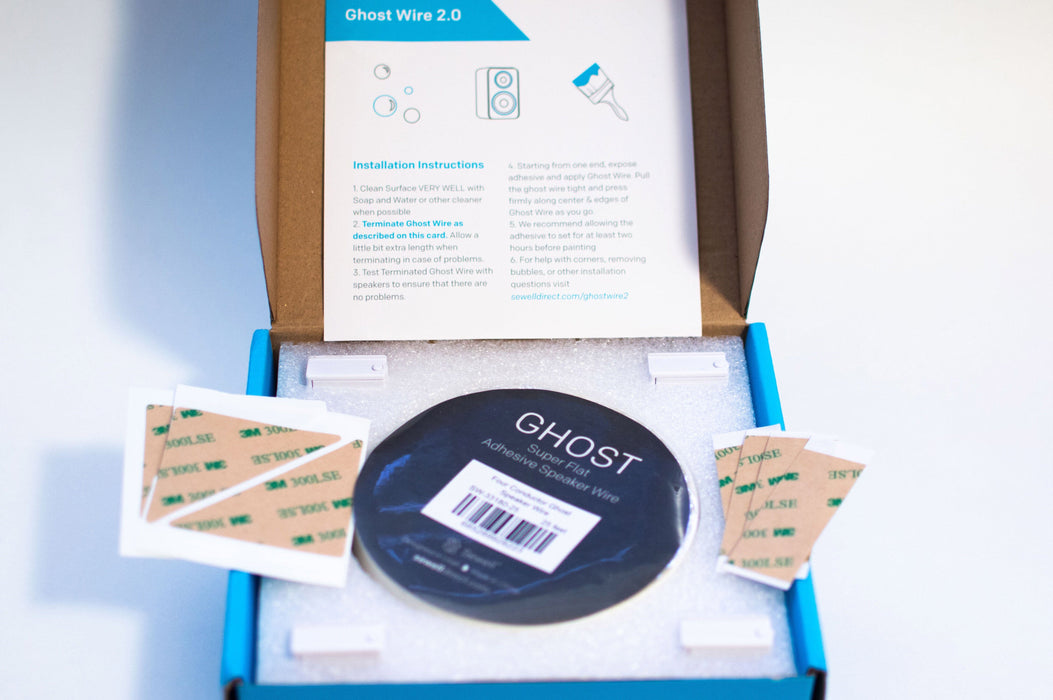
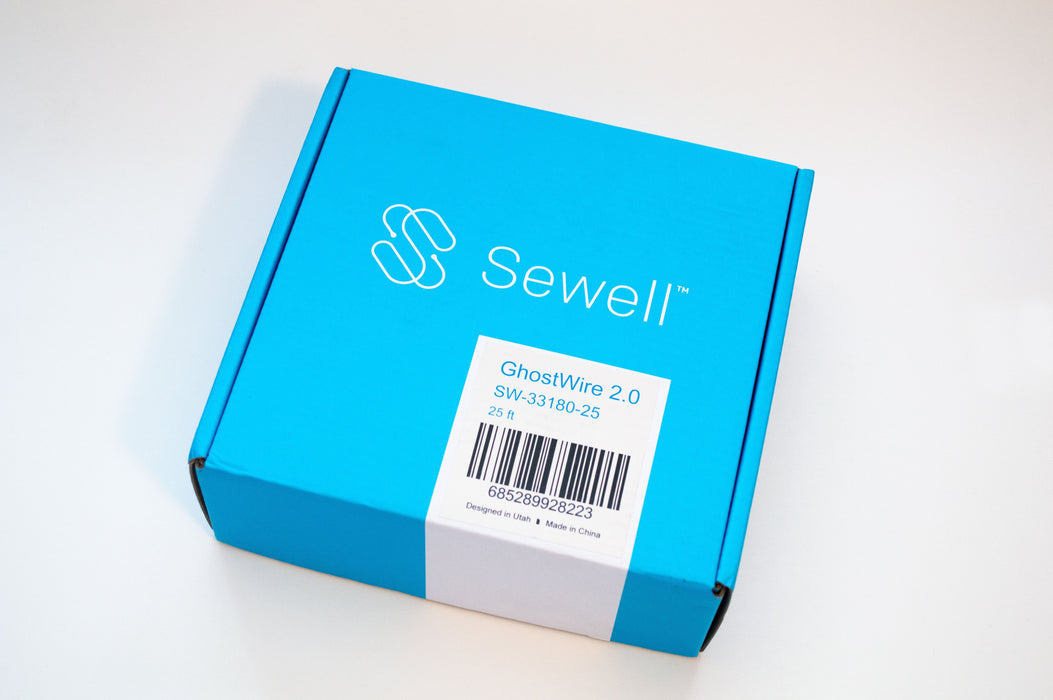
Placed order for these and other equipment on the 16th the other items shipped almost immediately however by the 29th these still had not, reached out to support and they responded within a couple hours apologized and overnighted me replacements. Quite happy with the customer service.
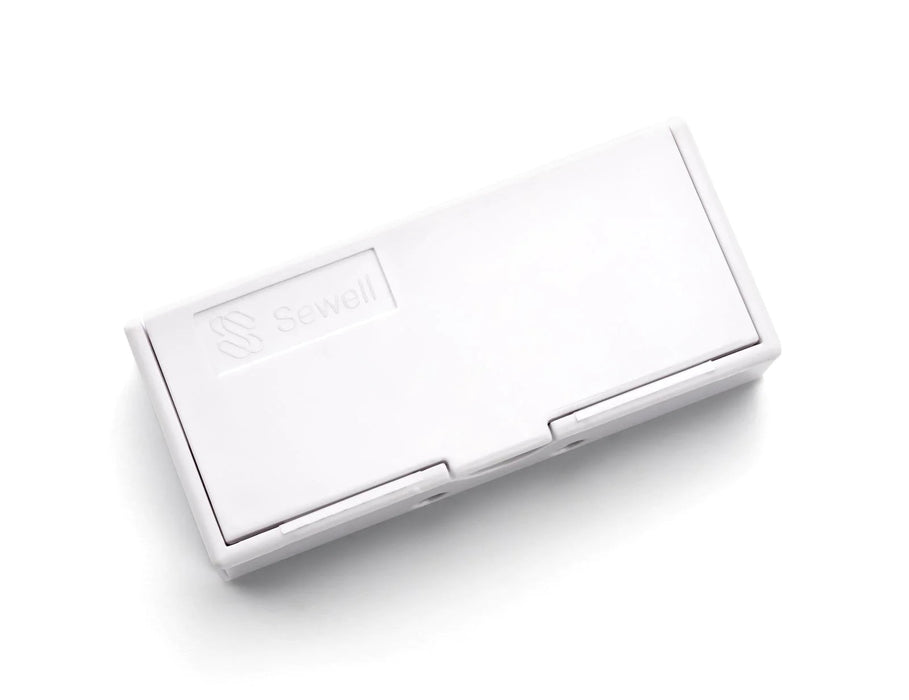
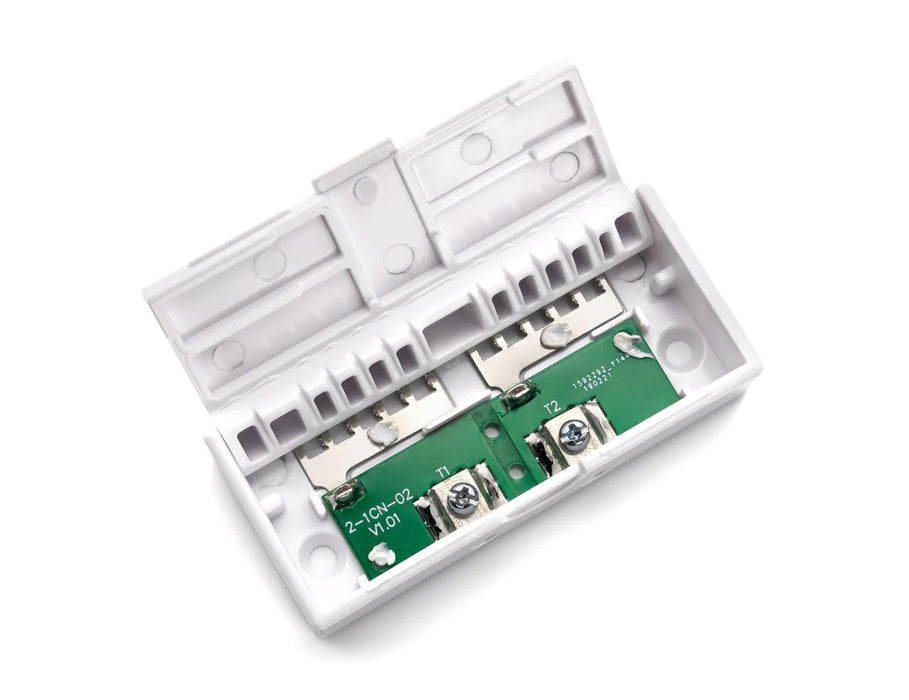
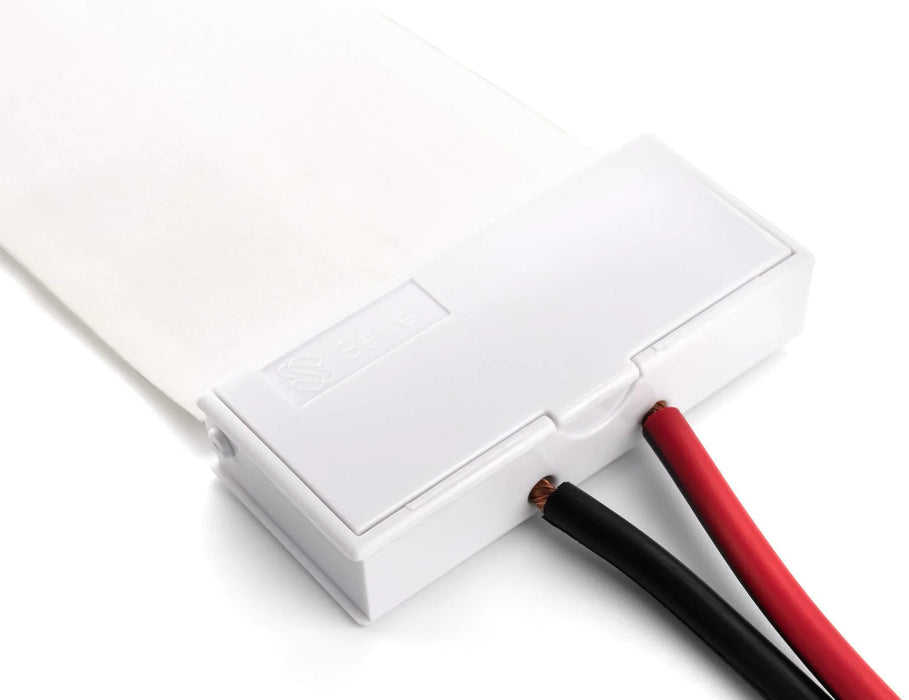
So far I have been very pleased with them, the seem well made are easy to setup, make a solid connection. There is only one problem. On a couple of them the set screws were screwed all the way in on arrival to the point that they had gone past the threads in the connectors and where crooked inside the plug. I was able to work them out with some effort, the plugs and screws were undamaged but it took some work to get the screws out. I suspect they moved due to vibration in shipping. If it were not for that would be 5/5