How to use banana plugs with speaker wire

Why Banana Plugs
There are many benefits of using banana plugs with your speaker wire. Not only do they help your installation to look cleaner, banana plugs also give you a permanent and high quality connection.
Often bare speaker wire connections are unreliable. Wires tend to get pulled out or frizzy as time passes, which can affect your sound quality. With banana plugs you ensure this won't ever happen. Another benefit comes when you are doing behind the wall installations and using wall plates (as opposed to just leaving a big hole in the wall). These wall plates will generally just have a jack for a banana plug.
Banana plugs also will help the back of your speakers and receiver look nicer and reduce the messy look of all the wires.
1. Cut The Wire
The first thing you'll need to do is to cut the wire to the length you need. If you're running the wire behind the wall, do so before attaching the banana plugs. When you have the correct length of wire, pull one end away to give yourself room to work.

2. Separate Wires
You will need to be able to work with each individual wire in the pair. In order to make this easy, pull the wires away from each other so you have one or two inches of separated cable.

3. Work with Individual Wires
You will need to be able to work with each individual wire in the pair. In order to make this easy, pull the wires away from each other so you have one or two inches of separated cable.

4. Strip Away the Jacket
Place the cutting edge of the wire stripper about 1/2 of an inch away from the end of the cable. Let the force of the arm on the stripper put pressure on the cable as you spin the stripper around the cable to strip away the jacket.

5. Expose the Bare Wire
Peel the cut jacket off the bare wire and remove the cable stripper. This will expose the bare wire so you can attach the banana plug.

6. Repeat for Other Wire
Repeat the above process on the other wire, using the wire stripper to cut the jacket about 1/2 of an inch from the end of the cable.

7. Attach Banana Plugs
Once you have stripped both cables, you will be able to attach the banana plugs. You will no longer need the wire stripper.

8. Twist the Copper Strands
In order to easily feed the wire into the banana plugs you’ll need to twist all of the copper strands together. Place one of the sets of wire between your finger and thumb, then slide your finger across the top to cause the wires to twist around each other.

9. Attach the Banana Plugs
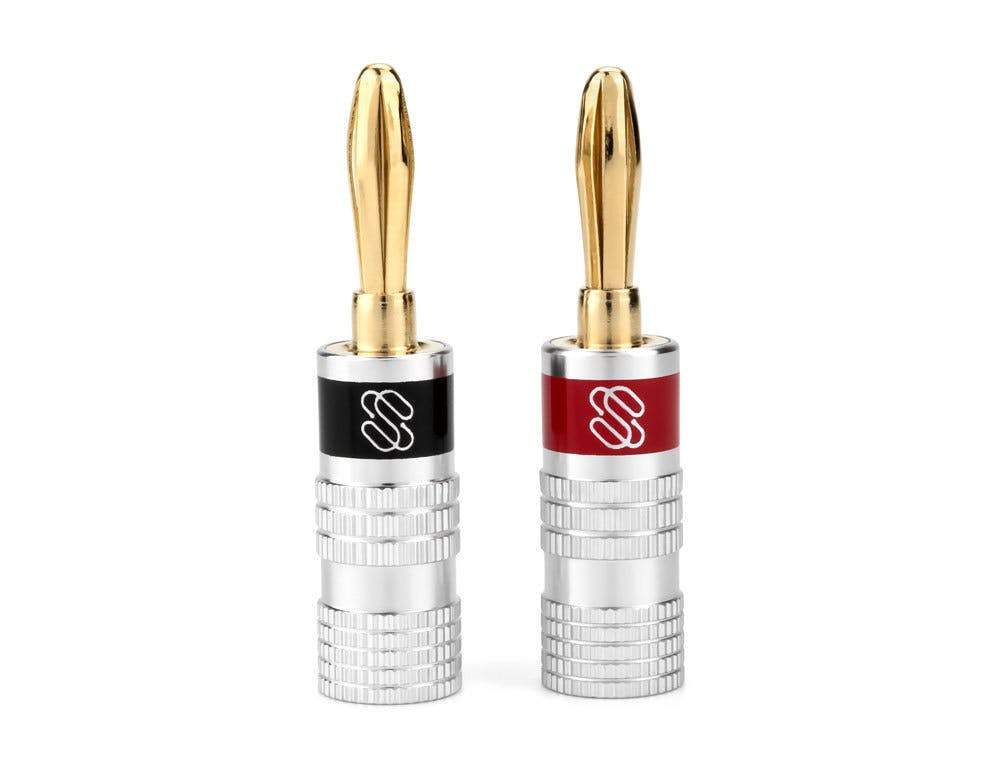
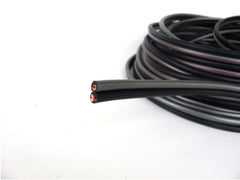
Once you’ve twisted the wire strands together you are ready to attach the Strike banana plugs. Each pair of cables will use a red striped banana plug and a black striped banana plug. The banana plug with the red stripe will attach to the grey cable with the red stripe printed on it. The other banana plug will attach to the black cable.

10. Feed the Speaker Wire
Take the banana plug with the red stripe and unscrew the bottom about half way and feed the speaker wire into the bottom of the banana plug.

11. Push Cable Into Banana Plug
Keep pressing the cable into the banana plug until you can’t push it any farther. There is a cone at the front of the plug that spreads the wires in the speaker cable out to ensure a good connection. If you don’t push it in far enough, you won’t have as secure of a connection.

12. Screw Back of Banana Plug to Secure
After you’ve fully inserted the cable, screw the back of the banana plug back down. This will twist the wire farther into the plug, giving a strong connection. If you have properly fed enough wire into the banana plug, this should tighten down on the wire and keep it from falling out.

13. Repeat for Second Banana Plug
Repeat this process for the other banana plug, making sure to insert the cable in as far as you can to ensure a strong connection.

14. Connect Banana Plugs to Speaker
With both speaker cables inserted and secured in the banana plugs, simply connect the plugs into the back of your speaker or receiver.
